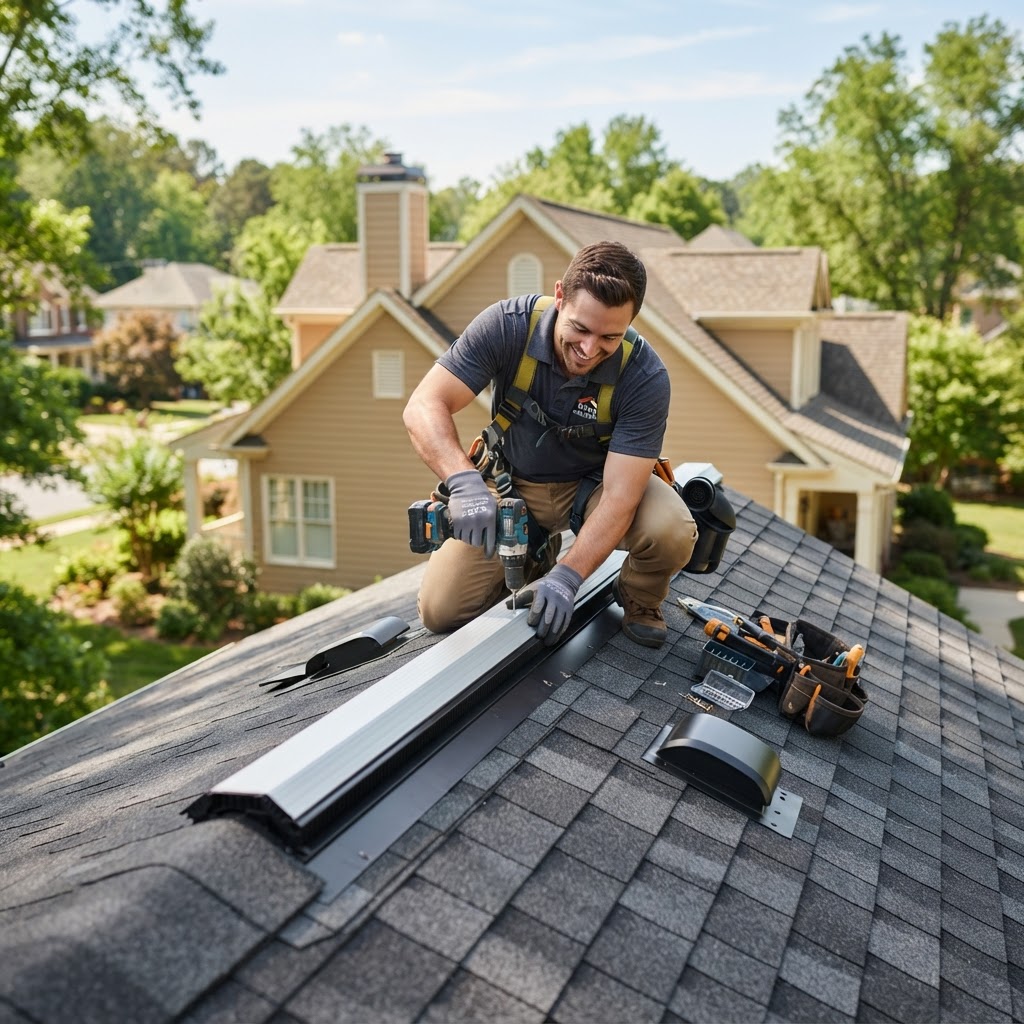
When you think about home maintenance, your mind probably goes to the obvious stuff: a fresh coat of paint, a manicured lawn, or maybe that leaky faucet in the guest bathroom. But there is a silent hero working 24/7 to protect your home’s structural integrity, and it is likely the last thing on your mind—until it fails. We are talking about roof ventilation. Think of your roof not just as a lid on a box, but as the lungs of your home. Without proper airflow, your house can’t breathe, leading to a host of expensive problems like mold, wood rot, and skyrocketing energy bills. In this comprehensive guide, we will pull back the curtain on attic airflow, explain why it matters more than you think, and show you how to ensure your home stays healthy for decades to come.
Why Roof Ventilation is the Secret to a Long-Lasting Home
Most homeowners view their attic as a dusty storage space for holiday decorations, but from a building science perspective, it is a critical climate-control zone. Proper roof ventilation serves two primary purposes: removing heat during the summer and managing moisture during the winter. According to Energy Star, a well-ventilated attic can significantly reduce the load on your air conditioning system, which you can read more about in their guide to attic ventilation.
In the sweltering summer months, the sun beats down on your shingles, radiating heat into the attic. Without a way to escape, attic temperatures can soar to 150 degrees Fahrenheit or higher. This heat doesn't just stay in the attic; it seeps through your ceiling, forcing your AC to work overtime. Even worse, that extreme heat can literally cook your shingles from the inside out, causing them to curl, crack, and fail years before their time. This is why ventilation is a core part of any essential home maintenance guide.
In the winter, the enemy changes from heat to moisture. Everyday activities like showering, cooking, and even breathing release water vapor into your home. This warm, moist air rises into the attic. If it hits a cold roof deck without proper airflow, it condenses into liquid water. This leads to soggy insulation, rusted nails, and the dreaded 'attic rain' that causes mold and wood rot. Furthermore, poor ventilation is the leading cause of ice dams—those heavy ridges of ice that form at the edge of your roof and tear off gutters while causing water to back up under your shingles.
The Science of Airflow: Intake vs. Exhaust
To understand how to fix your ventilation, you first need to understand the 'Stack Effect.' This is the natural principle that warm air rises. A functional roof ventilation system relies on a balanced flow of air: Intake and Exhaust. If you only have one without the other, the system fails.
- Intake Vents: These are typically located at the lowest point of your roof, usually under the eaves (soffits). Their job is to pull cool, fresh air from the outside into the attic space.
- Exhaust Vents: These are located at the highest point of the roof, such as the ridge or near the peak. As the intake vents pull air in, the exhaust vents allow the hot, stale air to escape.
A common mistake homeowners make is focusing only on exhaust. They might install a massive power fan but forget to check if their soffit vents are blocked by insulation. This creates a vacuum effect that can actually pull conditioned air from your living space into the attic, making your energy bills even worse. For a system to work correctly, you generally want a 50/50 balance between intake and exhaust capacity. This ensures a smooth, continuous stream of air that keeps the attic temperature close to the outdoor temperature.
Common Types of Roof Vents and Which is Best for You
Not all roofs are created equal, and the type of vent you need depends on your home’s architecture and your local climate. Here are the most common options you will encounter:
- Ridge Vents: These are long, thin vents installed along the entire peak of the roof. They are widely considered the most efficient passive ventilation option because they provide a continuous exhaust path at the highest point. They are also aesthetically pleasing as they blend into the roofline.
- Soffit Vents: The gold standard for intake. These are installed in the underside of your roof's overhang. You can choose between continuous strips or individual rectangular vents.
- Box Vents (Louver Vents): These are the square-shaped vents you often see peppered across a roof. They don't have moving parts and rely on natural convection. They are great for complex rooflines where a ridge vent isn't possible.
- Turbine Vents (Whirlybirds): These use the wind to spin a fan that pulls air out of the attic. They are very effective even with a slight breeze, but some homeowners find them unsightly.
- Solar-Powered Vents: A modern favorite, these use a small solar panel to power a fan. They provide active ventilation without adding to your electric bill. They are particularly effective in sunny climates where heat buildup is the primary concern.
- Gable Vents: These are located on the vertical walls at the ends of a peaked roof. While they can act as both intake and exhaust depending on wind direction, they are often less efficient than ridge-and-soffit systems.
Calculating Your Needs: The 1:300 Rule
How do you know if you have enough ventilation? The roofing industry follows a standard known as the 1:300 rule. This rule states that for every 300 square feet of attic floor space, you need at least 1 square foot of 'Net Free Area' (NFA) of ventilation. NFA is the total unobstructed area through which air can pass.
Step-by-Step Calculation:
- Measure the square footage of your attic floor (e.g., 1,500 sq. ft.).
- Divide that number by 300 (1,500 / 300 = 5). You need 5 square feet of total ventilation.
- Convert that to square inches (5 x 144 = 720 square inches).
- Split that number between intake and exhaust (360 sq. in. for intake, 360 sq. in. for exhaust).
Keep in mind that this is a minimum requirement. If your roof has a steep pitch or you live in an extremely hot climate, you might want to aim for a 1:150 ratio. If this math feels overwhelming, don't worry—most professional roofers use specialized calculators to ensure your home meets local building codes. If you are planning a roof replacement, it is the perfect time to have a pro verify these numbers for you.
Signs Your Roof Ventilation is Failing
You don't always need to climb onto your roof to know there is a problem. Your home will often give you warning signs if the attic is suffocating. Keep an eye out for these red flags:
- The 'Oven' Effect: If you walk into your attic on a summer day and it feels like a sauna, your exhaust vents aren't doing their job. Similarly, if your upstairs rooms are significantly warmer than the downstairs, heat is likely trapped in the attic.
- Curling or 'Crispy' Shingles: Take a look at your roof from the ground. If the shingles look like they are curling upward at the edges or losing their granules prematurely, they are being overheated from below.
- Ice Dams: If you see thick ridges of ice along your gutters or giant icicles hanging from the eaves in winter, your attic is too warm, causing snow to melt and refreeze at the cold edge of the roof.
- Rusty Nails or Mold: Inspect your attic rafters. If you see rust on the tips of nails or dark spotting on the wood, you have a moisture problem caused by poor airflow.
- Sky-High Energy Bills: A sudden spike in cooling costs often points to an attic that is retaining too much heat, forcing your HVAC system to work double-time.
Actionable Tips for Homeowners: DIY vs. Professional Help
Before you call in the heavy hitters, there are a few things you can check yourself. First, head into your attic with a flashlight. Look at your soffit vents from the inside. Can you see daylight? Often, DIY insulation projects accidentally block these vents with fiberglass batts. Installing 'baffles'—simple plastic or foam channels—can keep the insulation away from the vents and restore airflow.
However, cutting new holes in your roof or installing a ridge vent is not a DIY job for the faint of heart. Improper installation can lead to leaks that cause thousands of dollars in damage. When you're ready to upgrade your system, it's vital to work with someone who understands local building codes and airflow dynamics. You can use FIND-A-PRO to connect with verified, local roofing experts who can perform a ventilation audit and recommend the best system for your specific home. Before you sign a contract, be sure to check out our guide on how to hire a service professional to ensure you're getting the best quality for your investment.
Frequently Asked Questions About Roof Ventilation
Q: Can I have too much ventilation?
A: While rare, it is possible. Too many exhaust vents can sometimes interfere with each other, or in extreme weather, they can become entry points for wind-driven rain or snow. The key is balance, not just quantity.
Q: Should I cover my roof vents in the winter?
A: Absolutely not! This is a common myth. You need ventilation in the winter even more than in the summer to prevent moisture buildup and ice dams. Keep those vents open year-round.
Q: Do I need a power fan if I already have a ridge vent?
A: Generally, no. Mixing different types of exhaust vents (like a power fan and a ridge vent) can actually disrupt the airflow. The power fan might pull air from the ridge vent instead of the soffits, short-circuiting the system. Stick to one primary exhaust method for the best results.
Key Takeaways
Roof ventilation might not be the most glamorous home improvement project, but it is undoubtedly one of the most important. By maintaining a balanced system of intake and exhaust, you protect your shingles, lower your energy costs, and prevent structural damage from mold and ice. Remember, a healthy home starts with a roof that can breathe. If you've noticed any of the warning signs mentioned in this guide, don't wait for a leak to take action. Use FIND-A-PRO to find a trusted roofing professional in your area who can ensure your home stays protected for years to come.