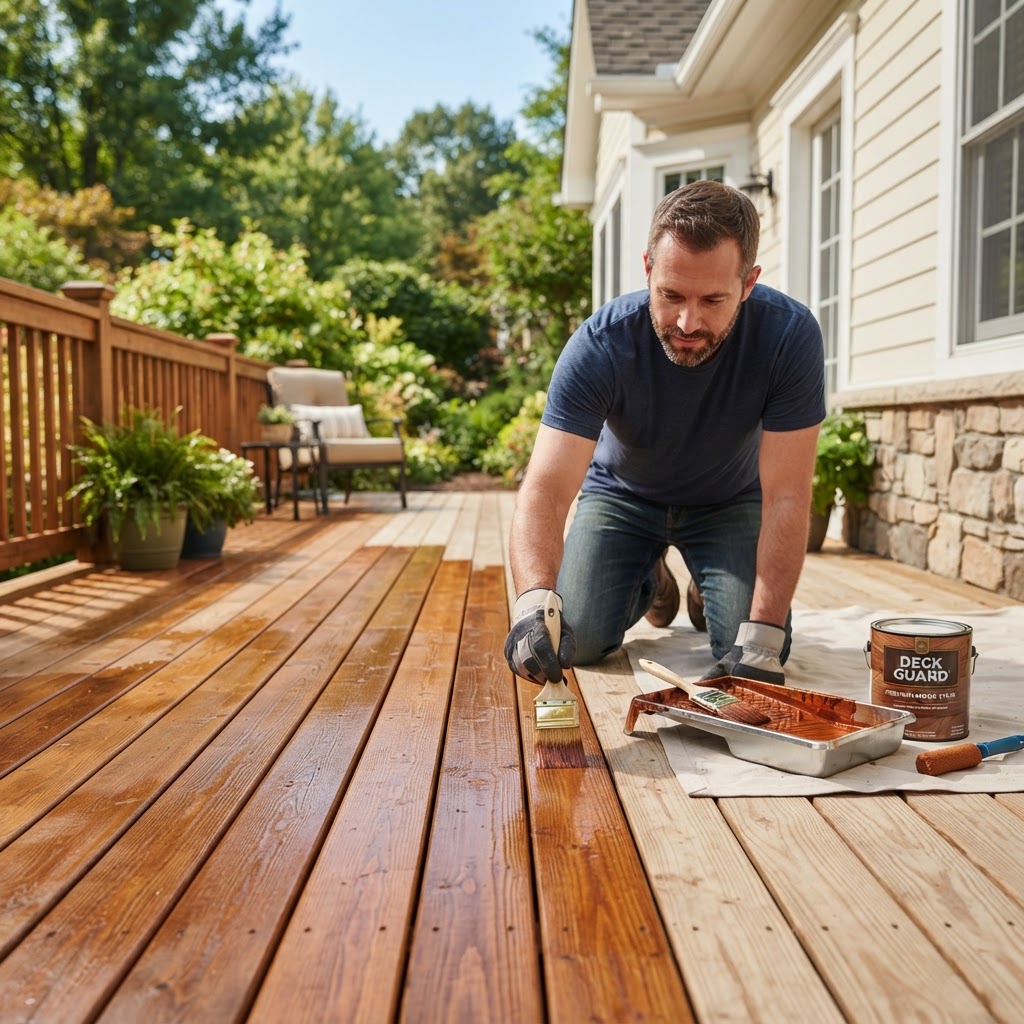
Your deck is more than just a collection of wooden planks; it is the stage for your family's summer barbecues, the sanctuary for your morning coffee, and a significant investment in your home's value. However, wood is a biological material that is constantly under siege from the elements. Without proper protection, UV rays will bleach its color, moisture will invite rot, and temperature fluctuations will cause cracking and warping. Staining your deck is the single most important maintenance task you can perform to preserve its structural integrity and aesthetic appeal. In this comprehensive guide, we will walk you through every nuance of the process, from selecting the right products to the technical execution that separates a DIY job from a professional-grade finish. Whether you are tackling a brand-new cedar deck or reviving a weathered pressure-treated surface, this guide provides the actionable expertise you need to ensure your outdoor living space remains beautiful for years to come.
Understanding the Enemy: Why Deck Staining Matters
To appreciate the importance of a high-quality stain, one must understand what happens to unprotected wood. Wood is composed of lignin and cellulose. UV radiation from the sun breaks down the lignin, which acts as the 'glue' holding the wood fibers together. This process, known as photo-degradation, is what turns your beautiful wood a dull, silvery gray. While some homeowners appreciate the weathered look, it is actually a sign of surface deterioration. Furthermore, moisture is the primary catalyst for rot and fungal growth. When wood absorbs water, it swells; when it dries, it shrinks. This constant cycle of expansion and contraction leads to checking, splitting, and the loosening of fasteners.
A high-quality deck stain acts as a barrier, utilizing pigments to reflect UV rays and resins to seal out moisture. Before you begin your project, it is wise to consider how this task fits into your broader property care strategy. For more context on prioritizing home projects, check out our essential home maintenance guide. By investing time in staining now, you avoid the much higher cost of structural repairs or full deck replacement in the future. Proper staining can extend the life of your deck by decades, providing a massive return on investment in both home value and personal enjoyment.
The Assessment: Testing Your Deck's Readiness
Before you buy a single gallon of stain, you must determine if the wood is actually capable of absorbing it. The most common mistake homeowners make is applying stain to wood that is either too wet or has a 'mill glaze' that prevents penetration. To test this, perform the 'Water Drop Test.' Sprinkle a few drops of water onto various areas of your deck. If the water beads up, the wood is not ready for stain; it likely has an old sealer present or the pores are closed. If the water soaks into the wood within a minute, you are ready to proceed.
If you are dealing with a brand-new deck, don't rush the process. New pressure-treated lumber often has high moisture content from the factory. Staining wet wood traps moisture inside, leading to premature peeling and potential rot. Experts generally recommend waiting several weeks or even months until the moisture content is below 15%. You can verify this with an inexpensive moisture meter. During this waiting period, if you find that managing these technical details is becoming a burden, remember that FIND-A-PRO is always available to help you find verified local professionals who possess the tools and expertise to handle the assessment for you.
Choosing the Right Product: Transparency and Base Types
Selecting a stain involves two main decisions: the level of transparency and the chemical base. Transparency levels range from clear sealers to solid stains. Clear Sealers offer the least UV protection but showcase the natural grain perfectly. Semi-Transparent Stains are the 'Goldilocks' choice, offering a balance of visible grain and significant pigment for UV protection. Solid Stains look similar to paint; they hide the wood grain entirely but offer the maximum protection against the sun and are excellent for older decks with many imperfections.
The second decision is between oil-based and water-based formulas. Oil-based stains penetrate deep into the wood fibers and are generally easier to apply because they have a longer 'open time,' meaning they don't dry too quickly, which helps avoid lap marks. However, they can be higher in Volatile Organic Compounds (VOCs). Water-based stains have improved significantly in recent years. They are more environmentally friendly, dry faster, and often hold their color longer than oil-based counterparts. When choosing your product, it is important to be aware of environmental regulations; you can review the EPA guidelines on VOCs to understand the impact of different chemical bases on your local environment and health.
Preparation: The Secret to a Long-Lasting Finish
Preparation accounts for 70% of the success of a deck staining project. Applying the most expensive stain over a dirty or poorly prepared surface is a waste of money. The process begins with a thorough cleaning. Use a dedicated deck cleaner to remove dirt, mold, mildew, and algae. While a pressure washer can be a powerful ally, it can also be a dangerous enemy. Excessive pressure can 'fuzz' the wood or leave permanent gouges. Keep the pressure below 1,000 PSI for softwoods like cedar and pine, and always move the wand in the direction of the grain.
After cleaning and allowing the wood to dry, sanding is often necessary. Sanding opens up the wood pores and removes any damaged fibers. Use 60 to 80-grit sandpaper for the deck boards; anything finer will close the pores and prevent stain absorption. Finally, consider using a wood brightener. Brighteners are typically citric or oxalic acid-based and serve to neutralize the cleaners used in the first step, while also opening the wood's cells and restoring the pH balance, which makes the wood more receptive to the stain. This step is what creates that 'like-new' professional glow.
The Step-by-Step Staining Process
Timing the weather is your first step. You need a window of at least 48 hours without rain, with temperatures between 50 and 90 degrees Fahrenheit. Avoid staining in direct sunlight if possible, as the heat can cause the stain to dry too quickly, leading to unevenness.
- Protect your home: Use painter's tape and plastic sheeting to protect the siding of your house and any landscaping.
- Start with the railings: Work from the top down so that any drips onto the floor can be smoothed out later.
- The 'Wet Edge' Technique: Always stain the full length of a board without stopping. Stopping in the middle of a board creates 'lap marks' where the two layers of stain overlap and dry darker.
- Back-brushing: Even if you use a roller or a sprayer to apply the stain, you must follow up immediately with a brush. This 'back-brushing' forces the stain into the wood fibers and ensures an even distribution.
Apply only as much stain as the wood can absorb. If you apply too much, it will sit on the surface and eventually peel. For most semi-transparent stains, one coat is sufficient. Solid stains may require two. If you are unsure about your ability to execute these techniques perfectly, you can consult our guide on how to hire a service professional to find an expert who can guarantee a streak-free finish.
Maintenance and FAQ: Keeping Your Deck Pristine
Once your deck is stained, maintenance is relatively simple but essential. Sweep away organic debris like leaves and pine needles regularly, as these hold moisture against the wood and can lead to localized rot. A light cleaning every spring with a gentle soap and water solution will keep the finish looking fresh.
Frequently Asked Questions
Q: How long does it take for deck stain to dry?A: Most stains are touch-dry in 2 to 4 hours, but you should wait at least 24 to 48 hours before walking on it or replacing furniture to ensure it has fully cured. Q: Can I stain over an old stain?
A: Yes, but only if the new stain is the same type (oil over oil) and a similar or darker color. If you are switching from oil to water-based, or if the old stain is peeling, you must strip or sand the deck down to bare wood first. Q: How often should I restain my deck?
A: Generally, every 2 to 3 years for horizontal surfaces (the floor) and every 4 to 5 years for vertical surfaces like railings, as they take less abuse from the sun and foot traffic.
Key Takeaways
Staining your deck is a labor-intensive process, but the results are undeniably worth the effort. By choosing the right products, prioritizing preparation, and following professional application techniques, you protect your home's exterior and create a beautiful space for relaxation. Remember that you don't have to do it alone. If you want the peace of mind that comes with a professional warranty and expert craftsmanship, use FIND-A-PRO to connect with highly-rated, local painting and deck specialists in your area who can transform your outdoor space while you sit back and relax.