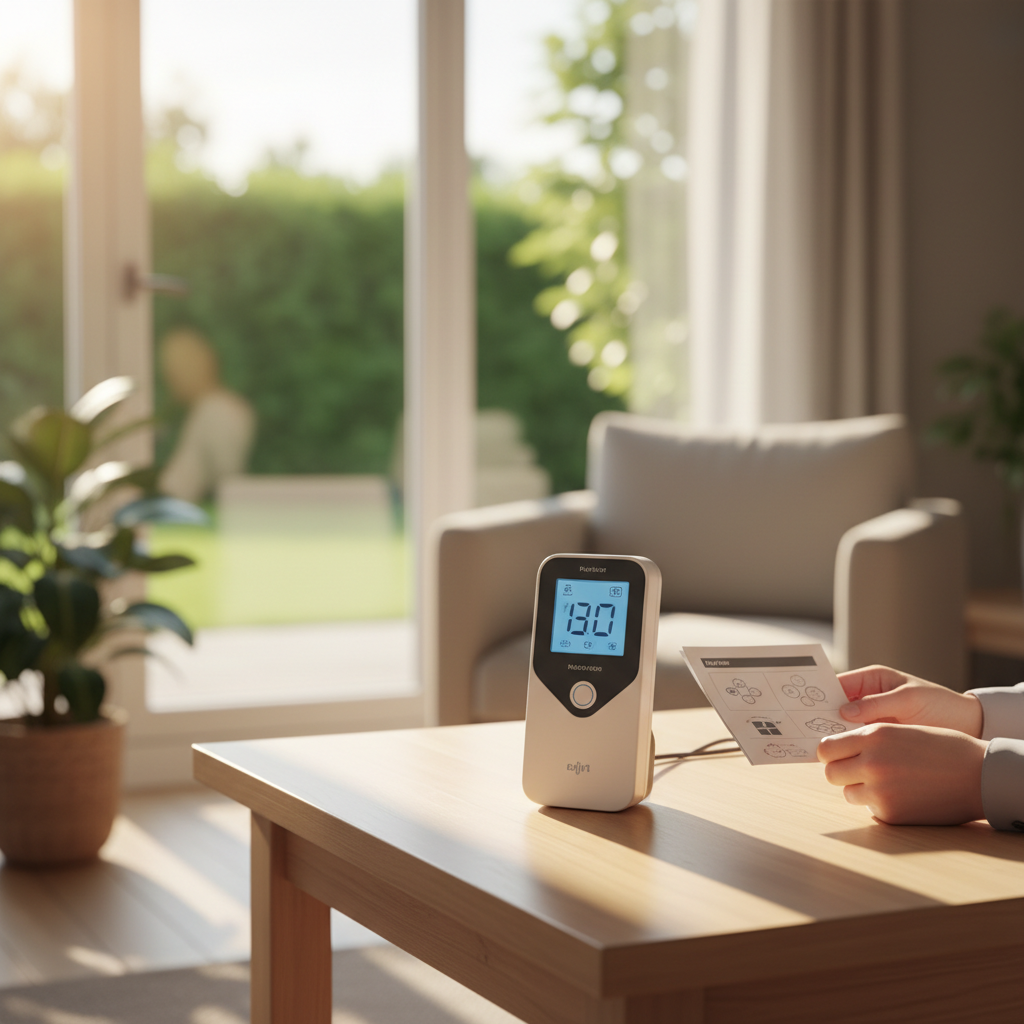
Imagine a threat lurking in your home—one that you cannot see, smell, or taste. It doesn't trigger smoke alarms, it doesn't leave a visible residue, and it doesn't cause immediate physical symptoms like coughing or headaches. Yet, this invisible intruder is the second leading cause of lung cancer in the United States, right behind smoking. We are talking about radon gas. If you have never tested your home for radon, or if it has been years since your last test, you are not alone. Many homeowners are completely unaware of this silent danger. However, the good news is that testing for radon is straightforward, relatively inexpensive, and taking action to reduce high levels is highly effective. In this comprehensive radon testing guide, we will walk you through exactly what radon is, how it enters your living spaces, the differences between DIY test kits and professional testing, and what your test results actually mean. By the time you finish reading, you will be fully equipped to take control of your home's indoor air quality and protect the health of everyone who lives under your roof.
What is Radon Gas and Why Should You Care?
Radon is a naturally occurring, radioactive gas that is produced by the normal, gradual breakdown of uranium in soil, rock, and water. Because uranium is practically everywhere in the earth's crust, radon gas is continuously being released from the ground into the atmosphere. Outdoors, it naturally dilutes to harmless levels. But when radon gets trapped indoors—whether in a basement, a crawlspace, or a tightly sealed modern living room—it can accumulate to dangerous concentrations.
As radon decays, it releases radioactive particles. When you breathe in these particles, they can get trapped in your lungs. Over time, the continuous breakdown of these particles releases tiny bursts of energy that can damage your lung tissue and DNA, eventually leading to lung cancer. According to the Environmental Protection Agency (EPA), radon is responsible for an estimated 21,000 lung cancer deaths every year in the United States alone.
It is vital to understand that radon does not discriminate. It doesn't matter if your home is brand new or a century old, if it has a basement, or if it's built on a slab. Any home can have a radon problem, and the only way to know your home's level is to test for it.
How Does Radon Enter Your Home?
You might be wondering how a gas buried deep in the soil manages to find its way into your bedroom. The answer lies in the pressure differences between the inside of your home and the soil outside. Most houses operate under a slight negative pressure compared to the surrounding earth. This phenomenon, often referred to as the "stack effect," essentially turns your home into a giant vacuum cleaner.
Warm air inside your home rises and escapes through the upper levels and attic. To replace that escaping air, your house sucks in air from the easiest available source: the ground beneath it. Radon is pulled up through the soil and enters the building through various pathways.
- Cracks in solid floors and walls: Even microscopic fissures in concrete slabs and foundation walls can serve as an entryway for radon.
- Construction joints: The seams where the floor meets the wall are common leakage points.
- Gaps around service pipes: Openings around plumbing, electrical, and gas pipes running through the foundation often lack perfect seals.
- Cavities inside walls: Cinderblock walls are hollow, allowing gas to travel up and seep into living areas.
- Water supply: While much less common, homes that rely on well water can have radon dissolved in the water, which is then released into the air during showering or dishwashing.
Understanding these entry points is crucial because it forms the foundation of radon mitigation strategies, which we will cover later in this guide.
The Ultimate Radon Testing Guide: Short-Term vs. Long-Term Testing
When it comes to radon testing, you generally have two main approaches: short-term testing and long-term testing. Because radon levels can fluctuate significantly based on the season, weather fronts, soil moisture, and even how often you open your doors, choosing the right test is important.
1. Short-Term Tests (2 to 90 Days)
Short-term tests are the quickest way to get an initial snapshot of your home's radon levels. They usually remain in your home for 2 to 7 days, though some can be left for up to 90 days. The most common types are activated charcoal canisters, charcoal liquid scintillation detectors, and electret ion chambers. A short-term test is highly recommended if you are in a rush—for example, during a real estate transaction—or if you simply want a quick "yes or no" answer on whether you need a more thorough investigation.
2. Long-Term Tests (90 Days to 1 Year)
If a short-term test comes back with borderline or high results, or if you simply want the most accurate picture of your year-round exposure, a long-term test is the gold standard. Alpha track detectors and electret ion chambers are typical for this. Because they stay in your home for more than three months (ideally a full year), long-term tests account for seasonal variations, giving you a highly accurate average of the air you are actually breathing day in and day out.
3. Continuous Radon Monitors (CRMs)
These electronic devices plug into the wall and measure radon levels continuously, often providing an hourly readout. CRMs are typically used by professionals because they must be regularly calibrated to remain accurate. They are particularly useful for proving that radon levels stayed stable during a real estate transaction or for testing if a newly installed mitigation system is working effectively.
Step-by-Step Instructions for DIY Radon Testing
If you're starting with a DIY short-term test kit from a hardware store or online retailer, proper placement and testing conditions are absolutely critical to getting an accurate result. An improperly placed test can easily give you a false sense of security—or trigger an unnecessary panic.
Here are the practical, actionable steps for a successful DIY radon test:
- Establish Closed-House Conditions: For a short-term test (under a week), you must keep all windows and outside doors closed for at least 12 hours before beginning the test, and throughout the entire duration of the test. Normal entry and exit through exterior doors is fine, but don't leave doors propped open.
- Choose the Right Level: Place the detector in the lowest lived-in level of your home. If you have a finished basement that you use as a playroom or office, test there. If your basement is an unfinished storage space you rarely visit, test the first floor.
- Pick the Perfect Spot: Place the test kit at least 20 inches above the floor (breathing level when sitting or lying down is best). Do not place it in a kitchen, bathroom, or laundry room, as high humidity and exhaust fans can interfere with the results.
- Avoid Drafts and Heat: Keep the detector away from drafts caused by heating and air conditioning vents, doors, fans, and windows. Also, keep it out of direct sunlight and away from sources of high heat like fireplaces.
- Do Not Disturb: Once the test is activated and placed, leave it completely alone for the specified testing period. Moving the test midway through will invalidate the results.
- Seal and Mail Immediately: Once the time is up, seal the package exactly according to the manufacturer's instructions and mail it to the laboratory right away. Delays in shipping can degrade the sample and skew your results.
When to Hire a Professional Radon Tester
While DIY kits are a great starting point for the average homeowner, there are several scenarios where bringing in a certified professional is strongly recommended, if not required.
Real Estate Transactions: If you are buying or selling a home, a professional test is almost always expected. Buyers want an unbiased third party to verify the home is safe, and continuous radon monitors used by pros can detect if the "closed-house" conditions were tampered with (like someone opening a window to lower the radon concentration during the test). If you are preparing to list your home, learning how to hire a service professional for a pre-listing inspection can save you from a major headache at the closing table.
Post-Mitigation Verification: If you've just spent money installing a radon mitigation system, you need a professional to verify that the system is actually pulling the radon levels down to a safe range. They can use sensitive diagnostic equipment to ensure the airflow and suction are perfectly balanced.
Complex Home Layouts: Homes with multiple foundation types (e.g., part basement, part crawlspace, part slab-on-grade) often require multiple tests and a deeper understanding of building science to determine the true overall radon exposure. Finding a reliable expert is crucial here; FIND-A-PRO connects you with thoroughly vetted, highly rated local professionals who specialize in complex residential safety assessments.
Understanding Your Radon Test Results
Radon levels in the United States are measured in picocuries per liter of air, commonly abbreviated as pCi/L. To put this in perspective, the average indoor radon level globally is about 1.3 pCi/L, and the average outdoor level is roughly 0.4 pCi/L. But what do the numbers on your lab report actually mean for your family's health?
- Below 2.0 pCi/L: These are considered normal, low-risk levels. No home is completely free of radon, but at this range, no immediate action is required. However, you should still retest every two to five years, or after any major renovations.
- 2.0 to 3.9 pCi/L: The EPA considers this a "consider action" range. While it is below the official action limit, the EPA still recommends that you consider fixing your home, especially if you spend a large amount of time in the lower levels. Remember, there is no known "safe" level of radon exposure.
- 4.0 pCi/L and Above: This is the EPA's official Action Level. If your long-term test, or the average of two short-term tests, sits at or above 4.0 pCi/L, you need to take immediate steps to fix your home. According to the EPA, living in a home with 4.0 pCi/L carries roughly the same risk of lung cancer as smoking half a pack of cigarettes a day.
If your test results come back high, do not panic. Radon is highly manageable, and the essential home maintenance guide you follow should absolutely include addressing elevated indoor pollutants.
Radon Mitigation Basics: What If Your Levels Are High?
If you've confirmed that your home has elevated radon levels, the next step is mitigation. The most common and effective method for reducing radon is a system called Active Soil Depressurization (ASD), also known as sub-slab depressurization.
This system works by installing a PVC pipe through the foundation floor into the soil or crushed rock beneath the house. A specialized, continuously running radon fan is attached to the pipe (usually in the attic or on the home's exterior). This fan creates a constant vacuum beneath the home, drawing the radon gas out of the soil before it ever has a chance to seep into your living space, and safely venting it above the roofline where it dissipates into the outdoor air.
Other mitigation methods exist depending on your foundation type. For crawlspaces, a high-density plastic vapor barrier is laid over the dirt floor and sealed to the walls, and the suction pipe pulls radon from beneath the plastic. Depending on your home's layout, a professional mitigation system typically costs between $800 and $2,000, which is relatively inexpensive when compared to other major home repairs like replacing a roof or a furnace. Most importantly, it provides immediate peace of mind and permanently lowers your family's cancer risk.
Frequently Asked Questions (FAQ) About Radon Testing
Q: What are the physical symptoms of radon exposure?
A: One of the most dangerous aspects of radon gas is that it causes absolutely no immediate physical symptoms. You will not get a headache, a cough, nausea, or watery eyes from breathing in high levels of radon. The only "symptom" of prolonged radon exposure is the eventual development of lung cancer years, or even decades, later. This makes proactive testing the only way to protect yourself.
Q: Does opening the windows reduce radon levels?
A: Temporarily, yes. Opening windows can dilute the indoor air with fresh outdoor air, which lowers the radon concentration. However, this is not a permanent or practical fix. During extreme hot or cold weather, you cannot leave your windows open, and the moment you close them, the "stack effect" will pull radon back into the home, allowing it to build up again within just a few hours.
Q: Are newer, more energy-efficient homes safe from radon?
A: Surprisingly, no. While new homes are built with better materials, they are also built to be much tighter and more energy-efficient to prevent heating and cooling loss. If a tight, energy-efficient home is built on radon-producing soil, it will actually trap the radon gas inside much more effectively than a drafty older home. Many modern builders are now installing passive radon mitigation pipes during construction, but you still must test to ensure the levels are safe.
Q: How often should I retest my home for radon?
A: The EPA recommends retesting your home every two years. You should also retest immediately after any major structural renovations, adding an addition, changing your HVAC system, or finishing a basement, as these changes can dramatically alter the airflow and pressure dynamics of your house.
Key Takeaways
Testing your home for radon is one of the most critical, yet frequently overlooked, steps in responsible homeownership. It requires minimal effort, costs very little, and most importantly, it empowers you to protect the long-term health of your family. Whether you choose to start with a DIY short-term kit or jump straight into a comprehensive continuous monitor test, the time to act is now. Don't let an invisible gas compromise the safety of your sanctuary. If you are ready to ensure your indoor air quality is top-notch, or if you need to install a reliable mitigation system, <strong>FIND-A-PRO</strong> is here to help. Our platform makes it incredibly simple to find certified, highly reviewed local professionals who will get the job done right, giving you the ultimate peace of mind.