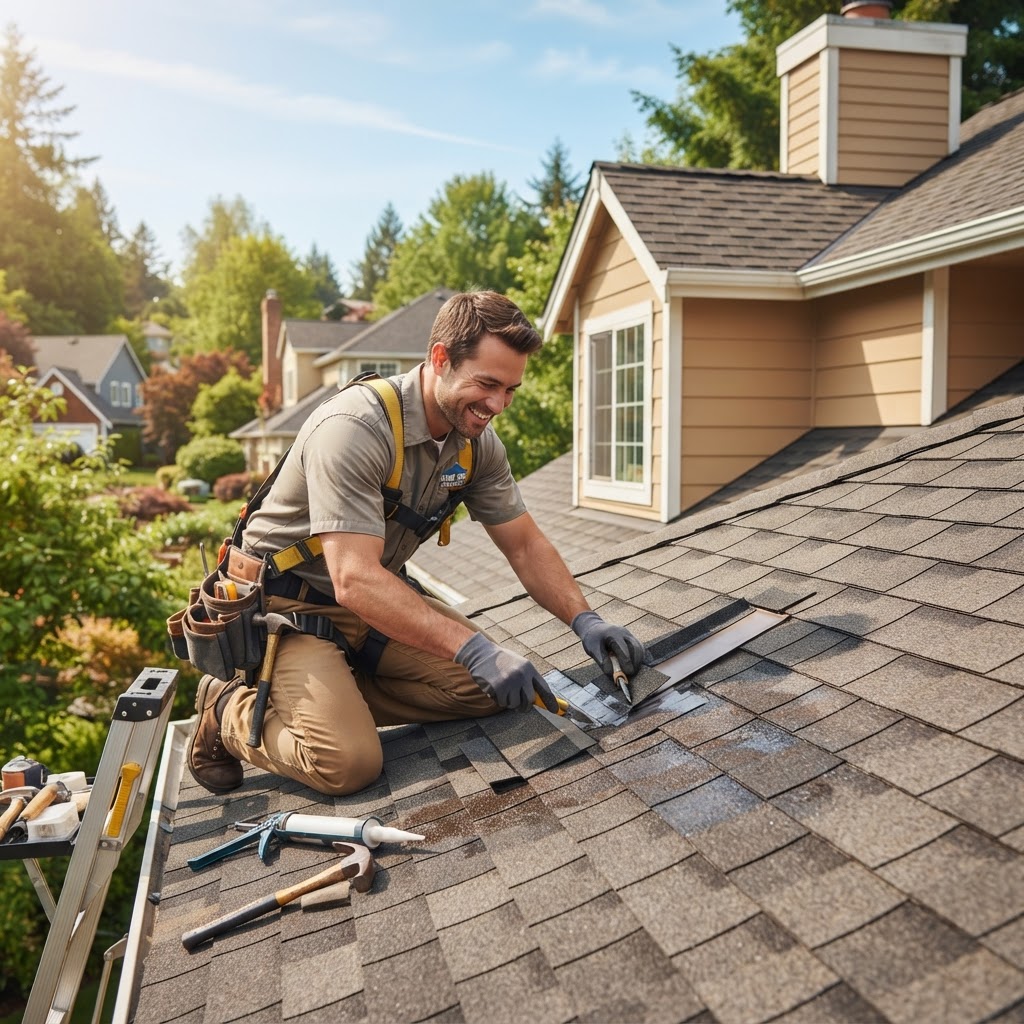
The sound of a rhythmic 'drip, drip, drip' during a rainstorm is enough to send a chill down any homeowner's spine. A roof leak is more than just a minor annoyance; it is a ticking clock. Left unaddressed, a small breach in your home's primary defense can evolve into structural rot, hazardous mold growth, and compromised electrical systems. While the prospect of roof leak repair can feel overwhelming, understanding the mechanics of your roof and knowing when to call in a professional can save you thousands of dollars in long-term damage. In this comprehensive guide, we will walk you through the immediate steps to take when you spot a leak, how to track down the elusive source, and how to ensure your home remains dry for years to come.
The Detective Work: How to Find a Roof Leak
Finding the exact entry point of water is often the most challenging part of roof leak repair. Water is opportunistic and rarely follows a straight path. It might enter through a cracked shingle on the peak, run down a rafter for ten feet, and finally drip onto your ceiling in a completely different room. This phenomenon is why the 'spot on the ceiling' is rarely directly below the 'hole in the roof.'
To find the source, start in your attic on a rainy day or have someone run a garden hose over the roof while you wait inside with a flashlight. Look for water tracks, damp insulation, or 'shiners'—nails that missed the rafter and now appear white or frosted because they collect condensation. If you are inspecting during a dry spell, look for dark water stains or mold on the underside of the roof sheathing.
Remember, safety is paramount. Never walk on a wet or steep roof without proper safety gear. For a deeper understanding of how this fits into your overall property care, check out our essential home maintenance guide. If the source remains elusive despite your best efforts, it is likely time to consult a professional who has the thermal imaging tools to see what the naked eye cannot.
Immediate Crisis Management: First Aid for Your Ceiling
When you discover an active leak, your first goal is damage limitation, not permanent repair. If you see a bulge in your drywall or a brown water stain that is actively dripping, the water is pooling behind the paint or plaster. Take a small screwdriver or an ice pick and poke a hole right in the center of the bulge. While it seems counterintuitive to make another hole, this allows the water to drain into a bucket rather than spreading horizontally and collapsing a large section of your ceiling.
Move furniture, electronics, and valuables out of the splash zone. Once the indoor situation is stabilized, you can consider a temporary external fix if it is safe to do so. A heavy-duty tarp is the most common emergency solution. Extend the tarp over the ridge of the roof so water cannot run under the top edge, and secure it with 2x4 boards weighted down or screwed into the roof (though screwing into the roof creates more holes, so use this as a last resort). For those who feel uncomfortable with heights or ladders, FIND-A-PRO is an excellent resource for finding emergency roofing services that can respond within hours to secure your home.
The Usual Suspects: Common Causes of Roof Leaks
Most roof leaks can be traced back to a few common culprits. Understanding these can help you communicate better with a contractor or tackle minor fixes yourself.
- Flashing Failures: Flashing is the thin metal material installed to direct water away from critical areas like chimneys, dormers, and valleys. Over time, the sealant can crack or the metal can corrode.
- Worn Pipe Boots: These are the rubber seals around the vent pipes that poke through your roof. Constant UV exposure causes the rubber to crack and rot long before the shingles themselves fail.
- Clogged Gutters: When gutters are full of debris, water backs up under the eaves. This is especially dangerous in winter, as it contributes to ice dams.
- Missing or Cracked Shingles: High winds can lift shingles, breaking the sealant strip and allowing rain to be driven underneath by the wind.
Proper attic ventilation also plays a role. Poorly ventilated attics can cause shingles to 'cook' from the inside out, leading to premature granule loss. You can learn more about energy efficiency and proper attic seals from the Energy Star guide to sealing and insulating. Maintaining these components is a core part of long-term home health.
DIY vs. Professional: When to Call the Pros
Minor roof leak repair, such as replacing a single shingle or resealing a pipe boot, is within the reach of a handy homeowner. However, roofing is inherently dangerous work. Falling is a significant risk, and improper repairs can void your roof's warranty or lead to even more expensive water damage later. If the leak involves a valley (where two roof planes meet), a chimney, or complex skylight integration, these are jobs for specialists.
When deciding whether to hire, consider the age of your roof. If your roof is over 20 years old, a leak might be a symptom of general material failure rather than a localized issue. In such cases, patching is a temporary 'band-aid' on a problem that requires a full replacement. If you decide to go the professional route, it is vital to vet your contractors thoroughly. Use our guide on how to hire a service professional to ensure you are asking the right questions about insurance, licensing, and warranties. FIND-A-PRO makes this easy by connecting you with verified local roofers who have been rated by other homeowners in your community.
Step-by-Step: Replacing a Damaged Shingle
If you have identified a single cracked or missing asphalt shingle as the source of your leak, here is a simplified process for repair:
- Lift the tabs: Carefully use a pry bar to lift the shingles in the row directly above the damaged one. Be gentle to avoid cracking the surrounding shingles, especially in cold weather.
- Remove the nails: Slide the pry bar under the damaged shingle to pop the nails out. You will typically need to remove the nails from the shingle above as well, as they often pierce the top of the shingle below.
- Slide out the old shingle: Once all nails are removed, the damaged shingle should slide out easily.
- Install the new shingle: Slide the new shingle into place, aligning it with the existing rows.
- Nail it down: Drive new roofing nails just below the sealant strip.
- Seal it: Apply a small dab of roofing cement to the underside of the tabs to ensure they bond correctly.
While this sounds straightforward, remember that matching shingle colors is notoriously difficult due to weathering. A professional roofer will often have better access to matching materials or can suggest ways to blend the repair seamlessly.
Preventative Maintenance: Stop Leaks Before They Start
The best roof leak repair is the one you never have to do. Routine maintenance is the key to longevity. At least twice a year—ideally in the spring and fall—you should perform a ground-level inspection using binoculars. Look for 'balding' shingles where the granules have worn off, as these granules protect the asphalt from UV rays. Check your gutters to ensure they are clear of leaves and silt; standing water in gutters is a primary cause of fascia rot and roof-edge leaks.
Trim back overhanging tree branches. Not only can branches scrape the roof during windstorms, but they also provide a highway for squirrels and raccoons who can chew through vents or shingles. Finally, check your attic for signs of daylight peeking through. If light can get in, water can get in. By catching these small issues early, you extend the life of your roof and maintain your home's value. FIND-A-PRO can help you set up a recurring maintenance schedule with a local handyman or roofing specialist to keep your home in peak condition year-round.
Frequently Asked Questions About Roof Leak Repair
Q: How much does the average roof leak repair cost?
A: Costs vary wildly depending on the severity and location. A simple shingle replacement might cost $150 to $400, while repairing flashing around a chimney or fixing a complex valley leak can range from $500 to $1,500. Major structural repairs involve much higher costs.
Q: Does homeowners insurance cover roof leaks?
A: Generally, insurance covers leaks caused by 'sudden and accidental' events, like a fallen tree or a hailstorm. However, leaks caused by 'wear and tear' or lack of maintenance (like an old roof simply wearing out) are typically not covered. Always document the damage with photos before beginning repairs.
Q: Can I just use 'leak spray' or sealant on a hole?
A: Canned sealants or sprays are emergency, temporary fixes only. They are not structural repairs and will degrade quickly under UV light. Using them as a permanent solution often traps moisture underneath, leading to accelerated wood rot in your roof deck.
Key Takeaways
Addressing a roof leak requires a combination of quick thinking, careful observation, and a commitment to quality repair. While the initial drip might seem small, the potential for damage to your home’s structure and your family’s health is significant. By identifying the source early, performing emergency mitigation, and knowing when to transition from a DIY fix to professional intervention, you protect your most valuable asset. Remember that maintenance is an investment, not an expense. For those times when the project is too big, the roof is too steep, or you simply want the peace of mind that comes with a professional warranty, use FIND-A-PRO to connect with highly-rated, local roofing experts who can get the job done right. Don't let a small leak turn into a big problem—take action today.