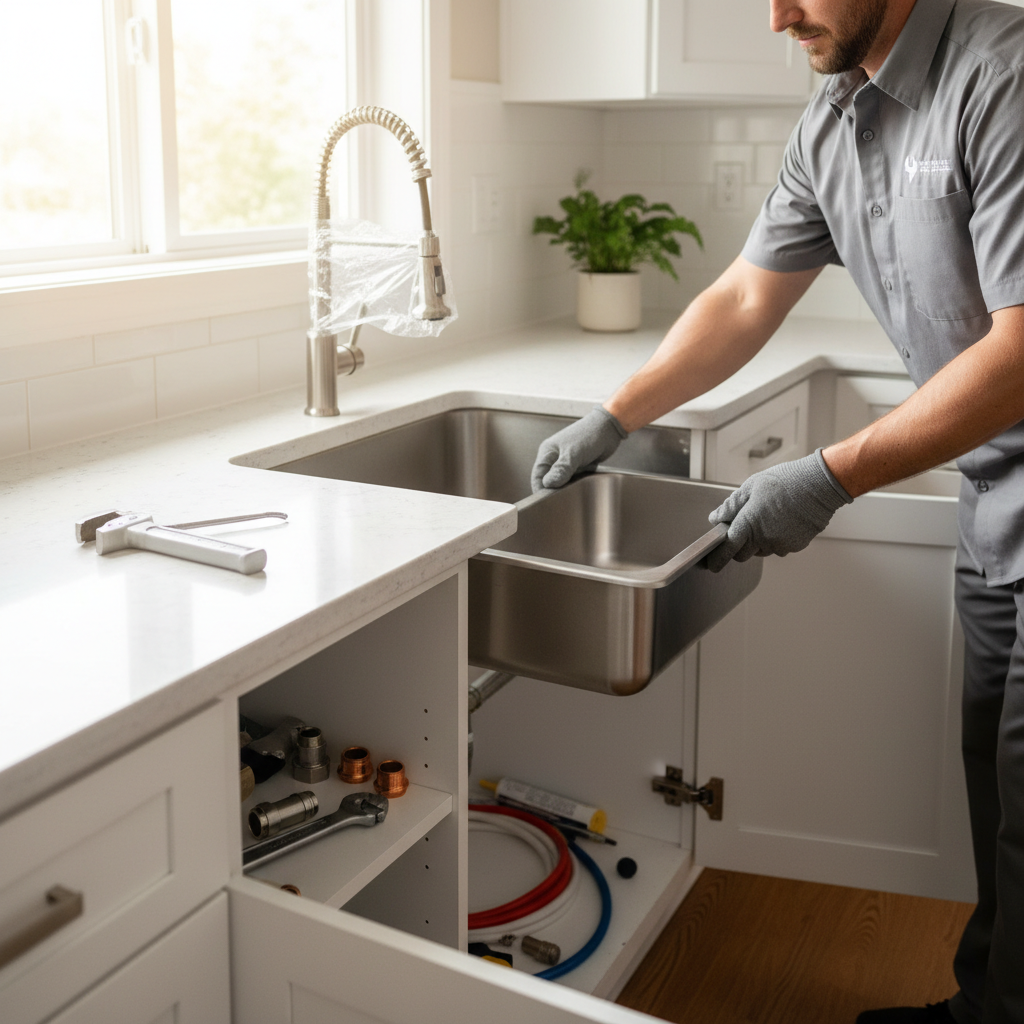
The kitchen sink is more than just a place to wash dishes; it is the absolute workhorse of the modern home. From preparing family meals to cleaning up after a holiday feast, it is the center of activity in any functional kitchen. However, when it comes time for an upgrade, many homeowners feel intimidated by the complexities of plumbing and structural integrity. Whether you are replacing a worn-out basin or installing a trendy new farmhouse sink as part of a major remodel, understanding the nuances of kitchen sink installation is vital. This comprehensive guide will walk you through everything from selecting the right materials to making leak-proof plumbing connections. While the task is manageable for a dedicated DIY enthusiast, knowing when to call in a professional from FIND-A-PRO can save you from costly water damage and unnecessary headaches.
Choosing the Right Sink for Your Kitchen Layout
Before you pick up a wrench, you must select a sink that fits both your lifestyle and your existing cabinetry. Kitchen sinks generally fall into two main categories: drop-in (top-mount) and undermount. Drop-in sinks are the easiest for DIYers to install because they feature a rim that rests on the countertop. They are held in place by their own weight and secured with metal clips underneath. Undermount sinks, however, are installed beneath the counter, offering a sleek, seamless look that makes cleaning crumbs off the counter a breeze. However, undermount sinks usually require solid surface countertops like granite or quartz and more advanced installation techniques.
Material choice is equally important. Stainless steel is a classic, durable option, but pay attention to the gauge; a lower gauge number (like 16 or 18) indicates thicker, higher-quality steel that resists dents and reduces noise. Fireclay and cast iron offer a timeless, farmhouse aesthetic but are incredibly heavy, often requiring reinforced cabinetry. When selecting your sink, always consult the EPA WaterSense guide to ensure your accompanying faucet is water-efficient. If you are unsure if your current cabinets can support the weight of a new cast iron basin, it may be time to consult our comprehensive guide on hiring a service professional to help evaluate your kitchen's structural needs.
Essential Tools and Materials Checklist
A successful installation begins with having the right tools on hand. Nothing halts progress faster than realizing you are missing a specific wrench mid-project. For a standard kitchen sink installation, you will need:
- Basin Wrench: This is a specialized tool with a long handle and pivoting head, essential for reaching the nuts behind the sink that hold the faucet in place.
- Adjustable Wrenches and Channel-Lock Pliers: For tightening water supply lines and drain connections.
- Hacksaw or PVC Cutter: If you need to trim existing pipes to fit the new sink's depth.
- Plumber's Putty or Silicone Sealant: To create a waterproof seal between the sink and the countertop or drain assembly.
- Tape Measure and Level: To ensure everything is perfectly aligned.
- Buckets and Towels: To catch the inevitable remaining water in the old lines.
In addition to tools, ensure you have the necessary components, such as a new P-trap kit, plumber's tape (Teflon tape) for threaded connections, and perhaps a new garbage disposal mounting flange if your old one is showing signs of corrosion. Preparing your workspace by clearing out the cabinet and laying down a dry towel will make the process significantly more comfortable.
Step 1: Removing the Old Sink Safely
The first rule of any plumbing project is to shut off the water supply. Locate the hot and cold shut-off valves under the sink and turn them clockwise until they stop. If the valves are old and won't budge, do not force them; you may need to shut off the main water line to the house. Open the faucet to drain any remaining pressure. Next, use your adjustable wrench to disconnect the supply lines from the faucet. Have a bucket ready, as water will still be inside the lines.
Disconnect the drain assembly and the P-trap. If you have a garbage disposal, you will need to unplug it (or turn off the circuit breaker if it is hardwired) and disconnect the discharge tube and the dishwasher bypass. Once the plumbing is clear, use a utility knife to carefully cut the caulk seal around the perimeter of the sink. For drop-in sinks, crawl under the cabinet and loosen the metal clips holding the sink to the counter. With a helper, lift the sink straight up. If it is stuck, gently pry it with a putty knife, being careful not to scratch your countertop. Once the old sink is out, spend time scraping away old putty and residue from the countertop opening to ensure a clean surface for the new installation.
Step 2: Pre-Installing the Faucet and Drain
One of the best 'pro tips' for sink installation is to install the faucet and the drain strainer before you put the sink in the countertop. It is much easier to tighten nuts and apply sealant when you aren't cramped inside a dark cabinet. Apply a ring of plumber's putty around the underside of the drain strainer or use the manufacturer-provided foam gasket. Press the strainer firmly into the sink's drain hole. From the underside, slide on the rubber gasket and the friction washer, then tighten the large locking nut until the putty oozes out evenly around the top. Wipe away the excess immediately.
Next, install the faucet according to the manufacturer's instructions. Most modern faucets use a single-hole or three-hole mounting system with a deck plate. Ensure the faucet is centered and the gaskets are properly seated. Tighten the mounting hardware using your basin wrench. If you are adding a soap dispenser or a side sprayer, install those now as well. Doing this 'topside' work beforehand ensures that once the sink is dropped into place, you only have to worry about the final plumbing connections. For more tips on keeping your home systems in top shape, check out our essential home maintenance guide.
Step 3: Setting the Sink and Making Connections
For a drop-in sink, apply a bead of 100% silicone sealant around the underside of the sink rim. With a helper, lower the sink into the countertop cutout. Ensure it is centered and square. From underneath, tighten the mounting clips provided with the sink. Start from the center and work your way out to the corners, ensuring even pressure. Wipe away any silicone that squeezed out onto the countertop using a damp rag. If you are installing an undermount sink, you will likely use heavy-duty epoxy and specialized mounting brackets or a support frame. This is a critical step because a full sink of water can weigh over 100 pounds; the support system must be rock-solid.
Once the sink is secure, reconnect the water supply lines to the faucet shanks. Use a bit of Teflon tape on the threads to ensure a watertight seal, but be careful not to overtighten, which can crack the plastic nuts. Next, reconnect the P-trap. The 'P' shape is designed to hold a small amount of water, which acts as a barrier to prevent sewer gases from entering your home. Ensure the pipes have a downward slope of about 1/4 inch per foot toward the wall drain. If you are re-installing a garbage disposal, make sure the mounting ring is secure and the discharge pipe is properly aligned with the P-trap assembly. This is often where FIND-A-PRO experts see the most DIY errors—improperly aligned traps can lead to chronic clogs and slow drainage.
Common Pitfalls and Troubleshooting
Even experienced DIYers can run into trouble. One common mistake is overtightening connections. Plastic plumbing threads are easily stripped or cracked; usually, hand-tight plus a quarter turn with a wrench is sufficient. Another frequent issue is the 'forgotten' dishwasher knockout plug. If you are installing a new garbage disposal, you must knock out the plastic plug inside the dishwasher nipple before connecting the hose, or your dishwasher will fail to drain and likely flood your kitchen floor.
Leaks are the most common post-installation headache. To test your work, fill the sink to the brim and then pull the plug. The sudden high volume of water will put the maximum pressure on your seals and joints. Use a dry paper towel to wipe every connection point; if the towel comes away damp, you have a slow leak that needs attention. Usually, a slight tightening of a slip nut or a re-application of plumber's tape will solve the issue. If you find yourself overwhelmed by a complex configuration or a persistent leak, remember that FIND-A-PRO is a reliable resource to find verified, local plumbers who can finish the job correctly and provide peace of mind.
Frequently Asked Questions (FAQ)
Q: How long does a typical kitchen sink installation take?
A: For a standard drop-in sink replacement where no cabinetry or countertop modifications are needed, a homeowner can expect to spend about 3 to 5 hours. If you are moving plumbing lines or installing a heavy undermount sink, it can take a full day or more.
Q: Can I install a new sink into an existing countertop?
A: Yes, provided the new sink fits the existing cutout. If the new sink is larger, you may be able to cut the countertop (if it's wood or laminate). However, if the sink is smaller, you will likely need to replace the countertop. Always measure the 'bowl depth' as well, as a deeper sink might interfere with existing plumbing heights in the wall.
Q: Which is better: Plumber's Putty or Silicone?
A: It depends on the material. Plumber's putty is traditional for drain strainers because it is easy to work with and remains flexible. However, it can stain certain natural stones like marble or granite. For those materials, and for sealing the rim of the sink to the counter, 100% clear silicone is generally preferred as it is non-staining and provides a stronger adhesive bond.
Key Takeaways
Installing a new kitchen sink is one of the most rewarding home improvement projects you can undertake. It immediately refreshes the look of your kitchen and improves your daily efficiency. By carefully measuring your space, choosing high-quality materials, and following a methodical installation process, you can achieve professional-grade results. Remember that the key to a long-lasting installation is a focus on leak prevention and proper structural support. If you encounter unexpected plumbing hurdles or simply want the assurance that your high-end farmhouse sink is installed perfectly, FIND-A-PRO is your go-to resource. We connect you with verified local professionals who have the expertise to handle everything from complex pipe rerouting to heavy-duty basin mounting, ensuring your kitchen remains the functional heart of your home for years to come.