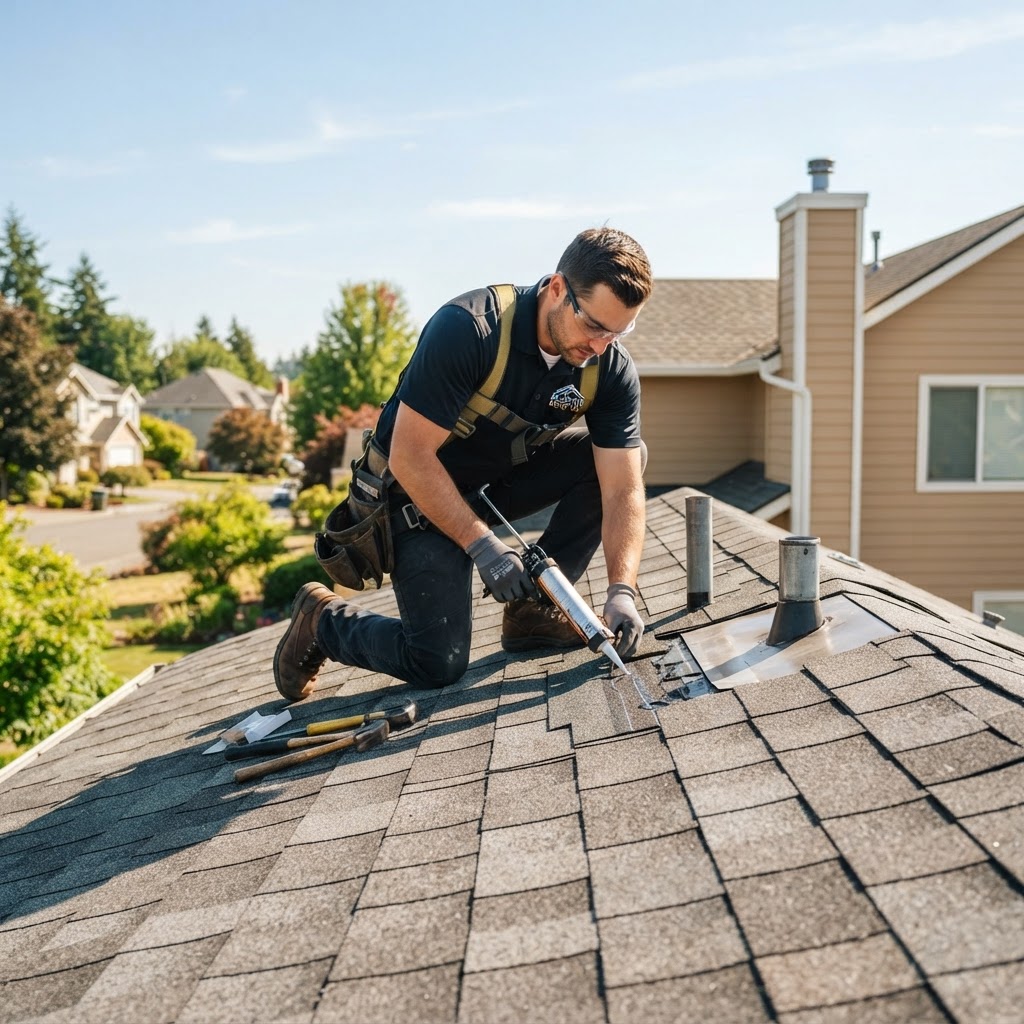
There is perhaps no sound more unsettling to a homeowner than the rhythmic 'plink-plink-plink' of water hitting a bucket or, worse, your hardwood floor. A roof leak is more than just a nuisance; it is a ticking clock that signals potential structural damage, mold growth, and compromised electrical systems. While the sight of a water stain on the ceiling can cause immediate panic, the key to successful roof leak repair is a methodical approach that combines quick action with a long-term strategy for maintenance. Whether you are dealing with the aftermath of a violent summer storm or noticing the slow degradation of aging shingles, understanding the mechanics of your roof and the specific steps required to seal it back up is essential for protecting your largest investment: your home. In this guide, we will walk you through everything from the initial emergency response to the intricate details of flashing repair, ensuring you have the knowledge to handle the situation with confidence.
Emergency Response: What to Do the Moment You Spot a Leak
When water is actively entering your living space, time is of the essence. Your first priority is damage control. Move furniture, electronics, and valuables away from the drip zone. If a ceiling is bulging or sagging under the weight of trapped water, use a small drill bit or a screwdriver to poke a hole in the center of the bulge. This might seem counterintuitive, but it allows the water to drain into a bucket in a controlled manner, preventing the entire ceiling from collapsing under the weight of the accumulated moisture. Once the indoor situation is stabilized, you must look at the roof. Never attempt to climb onto a roof during a storm or while surfaces are wet and slippery. According to OSHA safety standards, falls are among the leading causes of serious injury in home maintenance; always wait for dry conditions and use proper fall protection. If the rain persists, you can temporarily manage the situation by placing a heavy-duty tarp over the suspected area from the outside once conditions are safe, securing it with wooden 2x4 boards rather than nailing it directly into the shingles, which would create even more holes.
How Do I Find a Roof Leak?
To find a roof leak, start in the attic during a rainstorm or use a garden hose on the roof while someone stays inside. Look for water stains, mold, or damp insulation. Trace the water upward along rafters to the highest point of moisture, as water often travels away from the actual puncture.
Finding the actual hole is often harder than fixing it. Water follows the path of least resistance, which means it may enter through a gap in the shingles on the south side of your house, run down a rafter for ten feet, and then drip onto your ceiling in the middle of a bedroom. During your attic inspection, look for 'shiners.' These are nails that missed the rafter and are sticking out into the attic. In the winter, moisture from your home can condense on these cold nails, forming frost that melts during the day and looks exactly like a roof leak. If there are no obvious shiners or wet spots, wait for a dry day and conduct a water test. Have one person go onto the roof with a garden hose while you stay in the attic with a flashlight. Start by soaking the area just above where the leak appears inside. Work slowly, moving upward and across the roof in sections. It may take several minutes for water to soak through the underlayment and appear in the attic, so be patient. If you're struggling to locate the source, hiring a service professional through FIND-A-PRO can provide you with the expertise and thermal imaging tools needed to pinpoint elusive leaks.
Common Culprits: Identifying Vulnerable Spots
Statistically, most roof leaks occur at 'penetrations' rather than in the middle of a field of shingles. These are areas where something pokes through the roof, such as a chimney, plumbing vent, or skylight.
- Plumbing Vent Boots: These are the rubber or plastic gaskets that seal the pipes sticking out of your roof. Over time, the rubber can crack or rot due to UV exposure, allowing water to trickle down the side of the pipe.
- Step Flashing: This is used where the roof meets a vertical wall, like a dormer. If these metal pieces become loose or rusted, water can slip behind them.
- Roof Valleys: The 'V' shape where two roof planes meet carries a high volume of water. If shingles are trimmed improperly or the valley lining is compromised, leaks are imminent.
- Clogged Gutters: When gutters are full of debris, water backs up under the edge of the roof (the eaves), often leading to ice dams in winter or rot in the summer. Maintaining a clean gutter system is a cornerstone of any essential home maintenance guide.
The DIY Toolbox: Essential Supplies for Minor Repairs
If you have identified a small leak caused by a damaged shingle or a cracked vent boot, you can often perform the repair yourself with a few basic tools. You will need: a sturdy ladder, a flat pry bar (often called a 'cat’s paw'), a utility knife, a hammer, and a caulk gun loaded with high-quality roofing cement or specialized roof sealant. You should also have a package of replacement shingles that match your existing roof's color and material. To ensure long-lasting results, consider materials recommended by Energy Star, which can help keep your home cooler while providing superior weather protection. Having a small piece of flashing or a universal plumbing boot on hand is also wise if you suspect those components are the source of your trouble.
Step-by-Step: Replacing a Damaged or Missing Shingle
Replacing a single shingle is a straightforward process but requires care to avoid damaging the surrounding area. First, use your flat pry bar to carefully lift the tabs of the shingles in the row directly above the damaged one. You will find that shingles are held down by both nails and a strip of sealant. Gently slide the pry bar under the damaged shingle to break the seal. Once the tabs are lifted, you will see the nails holding the damaged shingle in place. There are usually four nails per shingle. Slide the pry bar under the shingle and pop the nails up just enough to grab them with the hammer's claw. After removing the nails, the old shingle should slide right out. Slide the new shingle into place, ensuring it aligns perfectly with the surrounding tabs. Drive four new roofing nails into the designated nail line (about an inch above the cutouts). Finally, apply a small dab of roofing cement under the tabs of the new shingle and the shingles in the row above to reseal them against the wind. This prevents 'wind uplift' which could lead to future leaks.
Fixing Leaky Flashing and Pipe Boots
If the leak is coming from a plumbing vent, check the rubber boot first. If the rubber is cracked, you don't necessarily have to replace the whole unit; you can buy a 'repair collar' that slides over the existing pipe and seals the gap. However, if the metal base is rusted or the shingles around it are rotting, you'll need to remove the surrounding shingles, pry up the old boot, and install a new one. For chimney flashing, the fix often involves reapplying masonry-grade caulk to the 'reglet' (the groove where the metal meets the brick). If the metal itself is riddled with holes, it’s time to call in a professional. FIND-A-PRO can connect you with licensed roofing specialists who have the metal-bending tools required to custom-fit flashing for complex roof geometries, ensuring a watertight seal that DIY methods often can't achieve.
Professional vs. DIY: Costs and Considerations
Deciding whether to DIY or hire a pro usually comes down to the scope of the damage. A simple shingle replacement might cost you $50 in materials and a Saturday afternoon. Conversely, a professional roof repair for a minor leak typically ranges from $300 to $800, while more complex repairs involving multiple valleys or structural rot can exceed $1,500 to $3,000. When you hire a professional, you are paying for more than just labor; you are paying for a warranty, insurance coverage, and the peace of mind that the repair was done to code. If your roof is more than 20 years old and experiencing multiple leaks, a repair might just be a 'band-aid' on a larger problem. A professional roofer can help you determine if a full replacement is more cost-effective in the long run. Use FIND-A-PRO to get multiple quotes from verified local experts so you can compare prices and service offerings effectively.
Roof Leak Repair FAQ
Q: Will my homeowners insurance cover roof leak repair?
A: Generally, insurance covers leaks caused by 'sudden and accidental' events, such as a fallen tree or hail damage. They typically do not cover leaks caused by 'wear and tear' or lack of maintenance. Check your policy for 'replacement cost' vs. 'actual cash value' coverage.
Q: Can I repair a roof from the inside?
A: No. While you might be tempted to spray foam or sealant into a hole from the attic, this actually traps water inside the roof structure, leading to rapid wood rot and mold. All roof repairs must be performed from the exterior to shed water away from the building.
Q: How long does a typical roof repair take?
A: Most minor leak repairs (shingles, vent boots, or minor flashing) can be completed in 2 to 5 hours. Larger repairs involving decking replacement or extensive flashing may take one to two full days.
Key Takeaways
Roof leak repair is a task that demands both urgency and precision. By identifying the source of the leak early and applying the correct fix—whether it's a simple shingle swap or a more complex flashing adjustment—you can save yourself thousands of dollars in secondary water damage. Remember that safety is your top priority, and no DIY project is worth the risk of a fall. For major repairs, structural concerns, or when you simply want the job done right the first time, FIND-A-PRO is here to help. We connect you with top-rated, verified local roofing professionals who can ensure your home stays dry and secure through every season. Don't wait for the next storm to test your roof; take action today and maintain the integrity of your home's first line of defense.