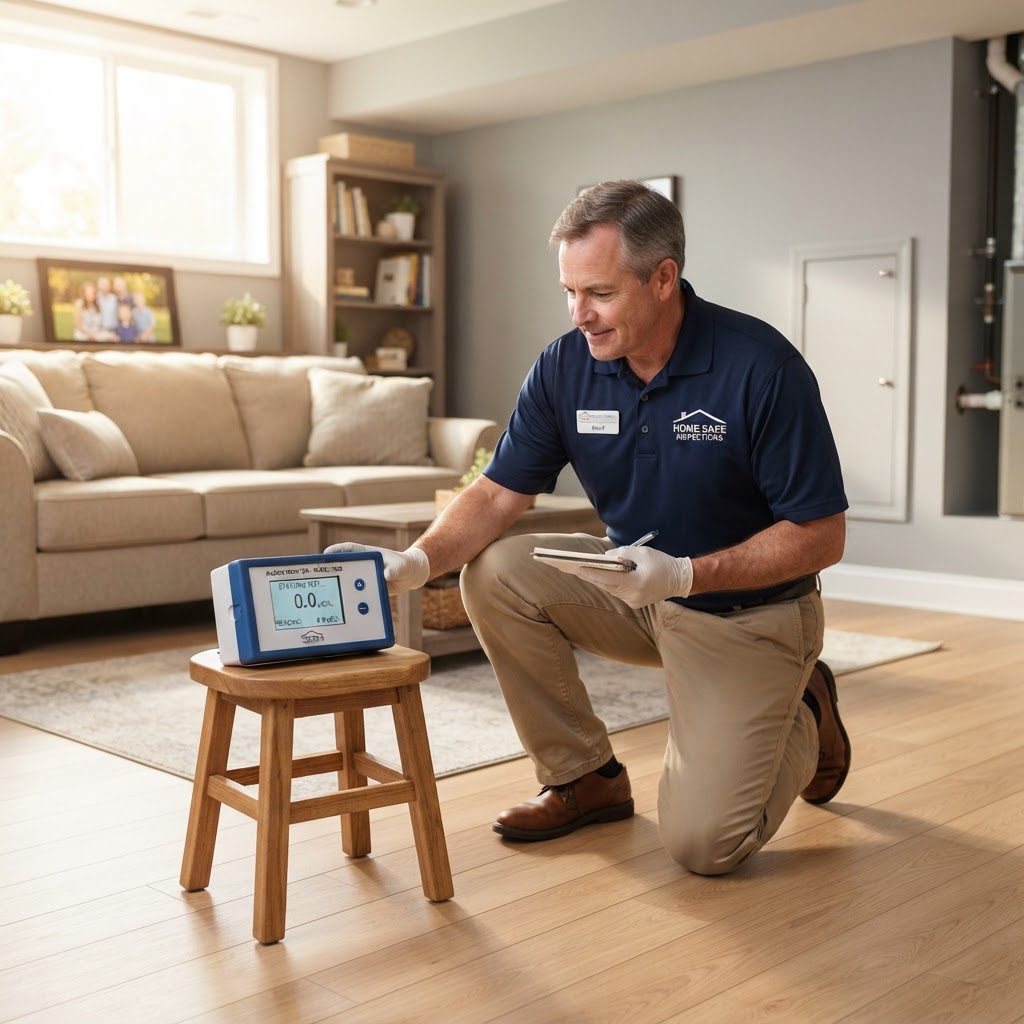
Every home has a hidden story, but some secrets are more dangerous than others. Radon, a naturally occurring radioactive gas, is the second leading cause of lung cancer in the United States, yet it remains completely invisible, odorless, and tasteless. Because it seeps in through the foundation of your home, you cannot rely on your senses to detect it. This guide is designed to empower homeowners and professionals alike with the technical knowledge and practical steps needed to conduct effective radon testing. Whether you are moving into a new house or have lived in yours for decades, understanding your radon levels is an essential pillar of home safety.
Understanding Radon: The Silent Guest in Your Foundation
Radon is a byproduct of the natural decay of uranium in soil, rock, and water. As uranium breaks down, it releases radon gas, which travels upward through the earth and enters buildings through cracks in the foundation, construction joints, gaps around service pipes, or even through well water. While outdoor radon levels are typically low and harmless, the gas can become concentrated inside enclosed spaces like homes, schools, and offices.
According to the U.S. Environmental Protection Agency (EPA), nearly one out of every fifteen homes in the U.S. is estimated to have elevated radon levels. No home is truly immune; whether your house is old or new, has a basement or sits on a slab, radon can accumulate. The health risks are cumulative, meaning long-term exposure significantly increases the risk of developing lung cancer, especially for smokers. This makes regular testing a critical component of your essential home maintenance guide.
When Should You Test for Radon?
There is no bad time to test for radon, but certain milestones make it a priority. If you are buying or selling a home, radon testing is often a standard part of the inspection process. However, even if you are not moving, you should test your home every two years to ensure levels haven't shifted due to structural changes or soil movement. Other key times to test include:
- After a major renovation: Changes to the building envelope or foundation can alter how gas enters or stays in the home.
- Before and after finishing a basement: Since radon levels are highest near the ground, lower levels of the home are most vulnerable.
- After installing a mitigation system: To ensure the system is functioning correctly.
- Seasonal changes: Radon levels often fluctuate based on the season, typically peaking in the winter when the house is sealed tight and the 'stack effect' pulls more gas from the soil.
Choosing the Right Test: Short-Term vs. Long-Term
When you decide to test, you have two primary options: short-term and long-term devices. Understanding the difference is vital for accurate data. Short-term tests usually last between two and seven days. These are excellent for quick screenings, especially during real estate transactions. Common devices include charcoal canisters, alpha track detectors, and liquid scintillation vials. Because radon levels fluctuate daily based on weather and barometric pressure, a short-term test provides a snapshot rather than a definitive average.
Long-term tests remain in your home for more than 90 days, often up to a full year. These provide a much more accurate picture of your year-round average radon exposure. They use alpha track detectors or electret ion chambers. If your initial short-term test shows levels near or above the action level of 4.0 pCi/L (picocuries per liter), experts often recommend following up with a long-term test to confirm the findings before investing in expensive mitigation.
How to Conduct a DIY Radon Test: A Step-by-Step Guide
Performing a DIY test is cost-effective and relatively simple if you follow the instructions precisely. Step 1: Preparation. For short-term tests, you must maintain 'closed-house conditions.' This means keeping all windows and outside doors closed for at least 12 hours before starting the test and throughout the duration of the test. You can use your HVAC system normally, but avoid using high-volume exhaust fans.
Step 2: Placement. Place the test kit in the lowest lived-in level of your home (e.g., a basement that is used frequently or a ground floor). Avoid kitchens, bathrooms, or laundry rooms, where high humidity and fans can interfere with the results. The kit should be at least 20 inches off the floor, away from drafts, exterior walls, and direct sunlight.
Step 3: Recording and Shipping. Note the exact start time and date. Once the testing period ends, seal the kit immediately and record the stop time. Mail it to the laboratory listed in the instructions as soon as possible. Delays in shipping can lead to inaccurate readings as the radioactive particles continue to decay.
The Benefits of Professional Radon Testing
While DIY kits are useful, hiring a professional offers a higher level of precision and reliability. Certified professionals use Continuous Radon Monitors (CRMs), which are sophisticated electronic devices that record radon levels hourly. This data helps identify spikes and patterns that a passive charcoal kit might miss. Professionals are also trained to detect 'tampering'—such as someone opening windows during the test—which is especially important during home sales.
When you hire a pro, you are also paying for their expertise in placement and interpretation. They can provide a comprehensive report that guides you on whether mitigation is necessary. If you are unsure of who to call, FIND-A-PRO is an excellent resource for connecting with verified local specialists who hold the proper certifications for your state. Knowing how to hire a service professional ensures that you are getting someone who follows EPA protocols and provides actionable data.
Interpreting Your Results: What Do the Numbers Mean?
Radon is measured in picocuries per liter of air (pCi/L). The EPA has established an action level of 4.0 pCi/L. If your test results are 4.0 pCi/L or higher, the EPA strongly recommends that you take steps to fix your home. However, it is important to note that no level of radon is considered 'safe.' The average indoor radon level is about 1.3 pCi/L, and the average outdoor level is about 0.4 pCi/L.
If your results are between 2.0 pCi/L and 4.0 pCi/L, you should still consider mitigation. Reducing radon levels to the lowest possible point is always the goal for long-term health. If you get a high reading from a short-term test, don't panic. Conduct a second test—either another short-term one for quick confirmation or a long-term one for a better average—before proceeding with structural changes.
Radon Mitigation: How to Fix a High-Radon Home
The good news is that radon problems are fixable. The most common and effective method is Sub-Slab Depressurization. A professional installer inserts a pipe through the floor slab into the soil beneath the house. A specialized fan then draws the radon gas from under the house and vents it through the pipe to the outdoors, above the roofline. This prevents the gas from ever entering your living space.
Other methods include sealing cracks in the foundation, though this is rarely effective as a standalone solution, and improving ventilation in crawl spaces. A properly installed mitigation system can reduce radon levels by up to 99%. After installation, the professional should re-test the home to confirm that the system is working as intended. Using FIND-A-PRO to find a certified mitigator ensures the work is done to code and provides peace of mind for your family's safety.
Frequently Asked Questions About Radon Testing
A: Yes. Radon gas doesn't stay in the basement; it can travel to the upper floors through the 'stack effect.' Furthermore, if you ever decide to finish the basement or use it as a gym or office, you'll want to know the levels beforehand. Testing the lowest potential living area is always the safest bet.
Q: Can I test for radon myself during a home purchase?A: Technically yes, but it is not recommended. Most lenders and buyers prefer a professional test with a Continuous Radon Monitor because it is tamper-resistant and provides a faster, more detailed report. A professional's third-party verification is crucial in real estate negotiations.
Q: Are digital radon monitors accurate for long-term use?A: Many consumer-grade digital radon monitors are quite accurate for ongoing monitoring. They provide a rolling average of your radon levels, which is great for peace of mind. However, they should not replace a certified lab test if you are making a decision about whether to install an expensive mitigation system.
Key Takeaways
Radon testing is a simple, low-cost action that can prevent a major health crisis. By understanding the risks, choosing the right testing method, and following through with mitigation if necessary, you are taking a proactive step in protecting your household. Remember that radon levels are dynamic; regular testing every two years or after any major home modification is the only way to stay safe. For homeowners who want the most accurate results or need a certified mitigation system installed, FIND-A-PRO is here to help you find and hire the best local experts in your area. Don't leave your family's health to chance—start your testing process today.